Braun Cruzer3 battery replacement
About seven years ago I bought a Braun Cruzer3 shaver and now, finally, its rechargeable battery started giving up. However, I still had fresh grille and razors and it was a shame to replace an otherwise perfectly-functioning device. So I decided to try to replace the batteries. Here are the steps I took to do it. There are probably not many people in the world still using these, but perhaps it will help with newer models as well.
DISCLAIMER: I’m in no way responsible for any damage caused to the shaver, yourself, your cat, or your house, as a result of following my instructions. This will also void the device’s warranty. Proceed at your own risk!
To complete this you’ll need:
- A Torx T8 screwdriver. A flat-blade screwdriver of a certain size could possibly do as well.
- A small piece of flat copper or brass, about half-millimeter thick.
- A soldering iron and soldering wire.
- Replacement batteries. They must be AAA size, NiMh type. I used Varta, bought in a general store. The capacity shouldn’t matter, as usual the bigger the better.
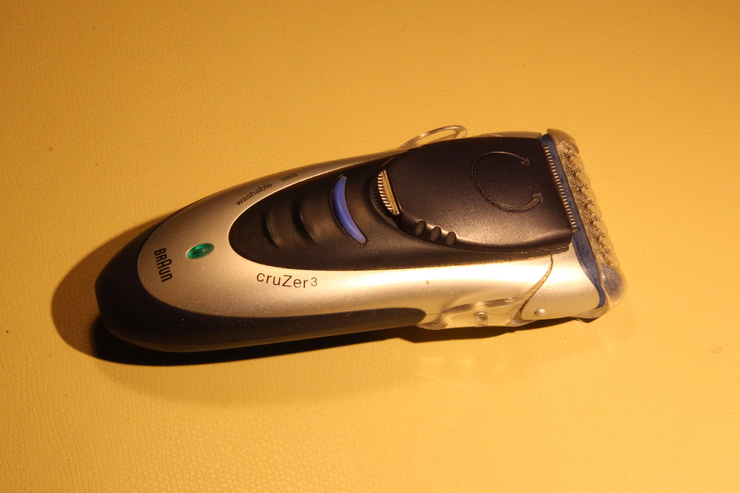
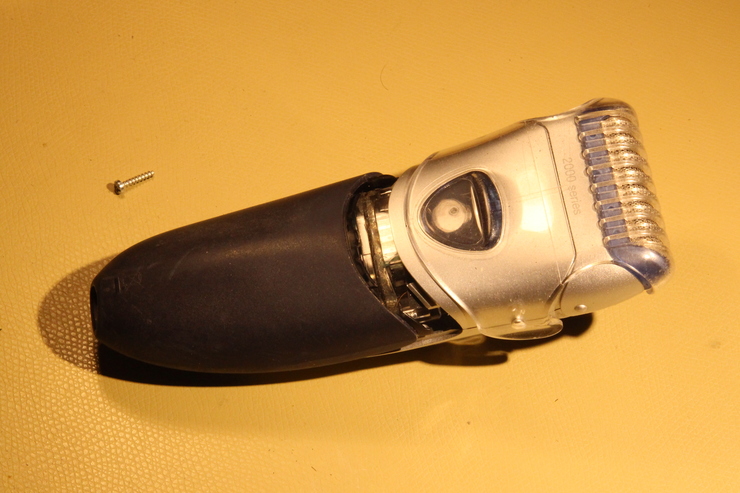
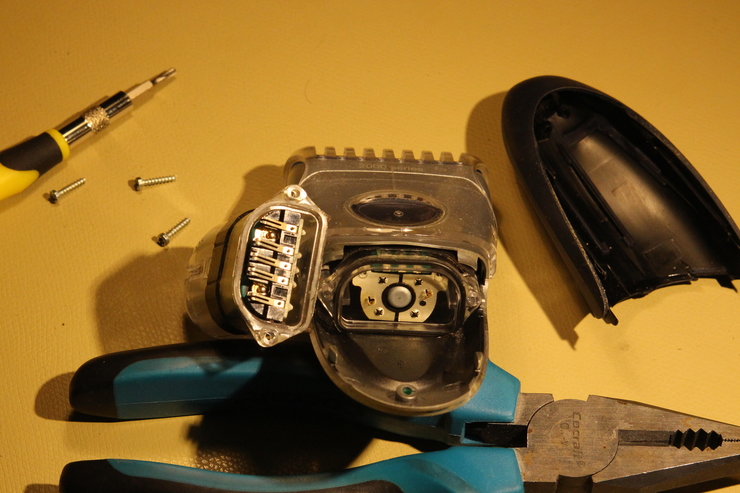
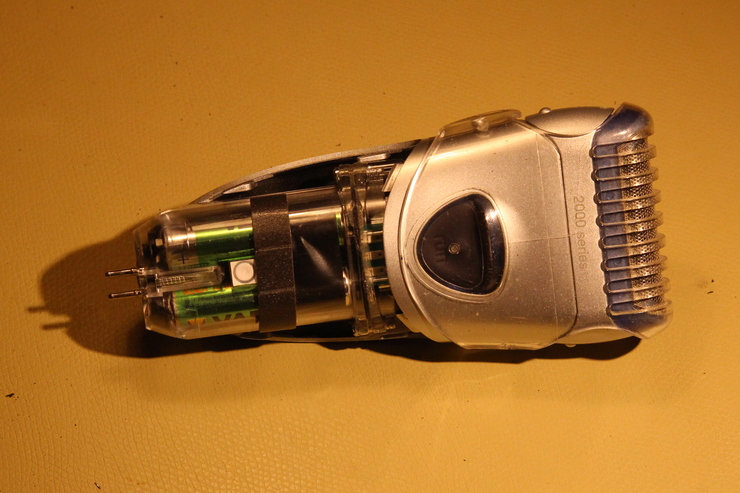
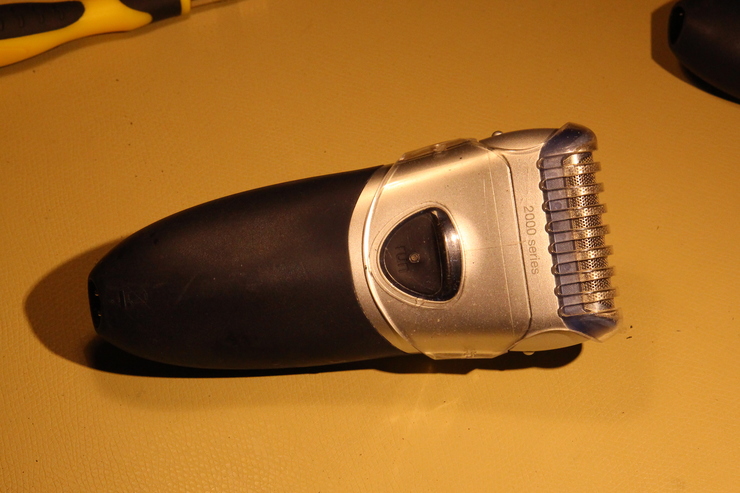
Here’s the nervous patient, right before the operation.
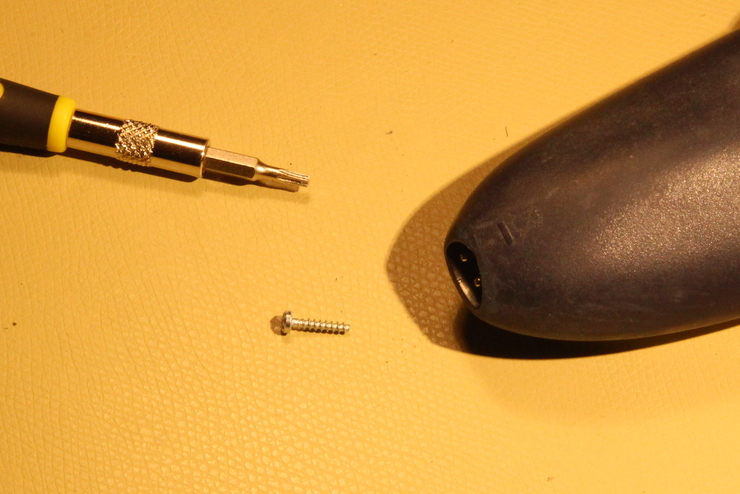
Remove the screw at the bottom, beside the charger connector.
Here it is.
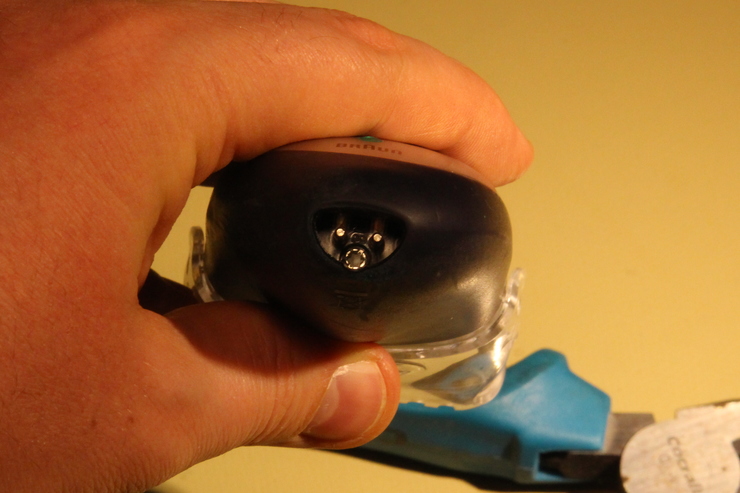
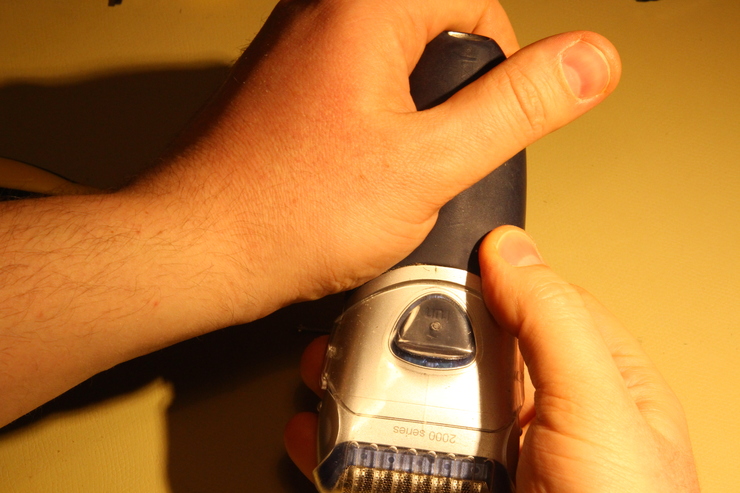
Pull the bottom, rubbery cover off. Firmly, but gently. It takes an effort. A
hold as shown on the picture seems to work well. As you do this, a couple of
security tabs break-off somewhere inside, and afterwards the cover slides on
and off easily. Apparently this is how the service would be able to tell
whether you opened the shaver or not. We won’t care about that by now.
As to the cover, the screw will hold it OK.
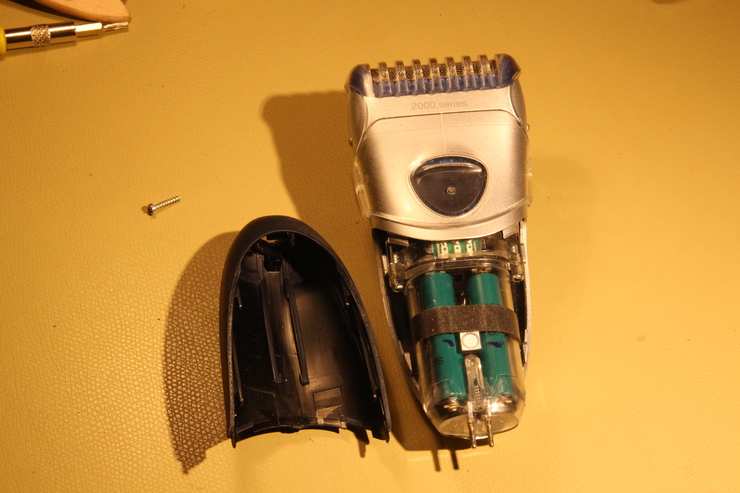
It slides off like this.
And here it’s completely off. You’ll see plenty of hair inside at this moment,
if you used the shaver for a considerable time. I cleaned them off before
taking the picture, to spare you the view.
Next remove the screws on the sides of the control board housing.
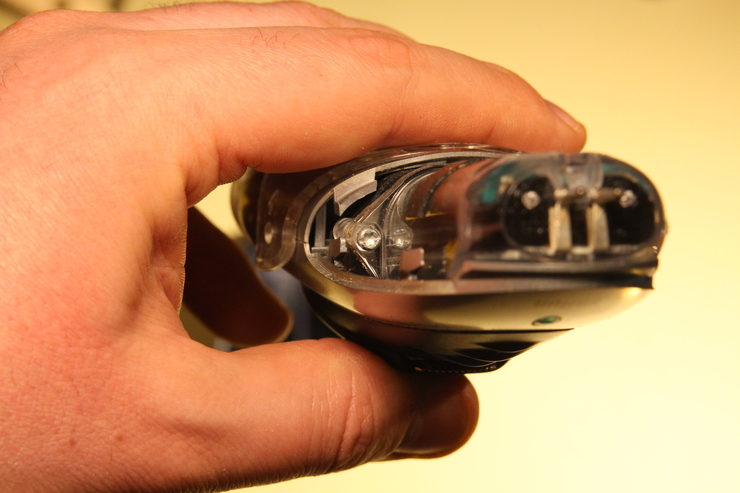
Here the housing is off. You can see the contacts for the on/off button, the
LED, and the motor, and the rubber seal around them. Pretty neat!
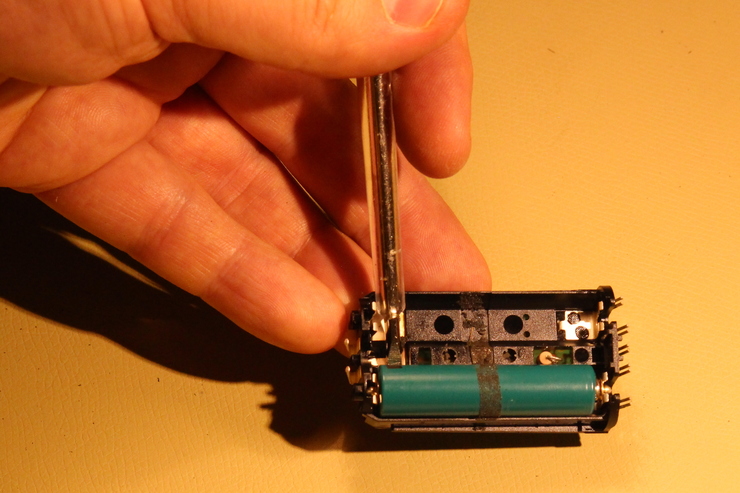
You can use a flat screwdriver to help slide the control board out of its
housing, as shown.
Here is the control board, out of its housing.
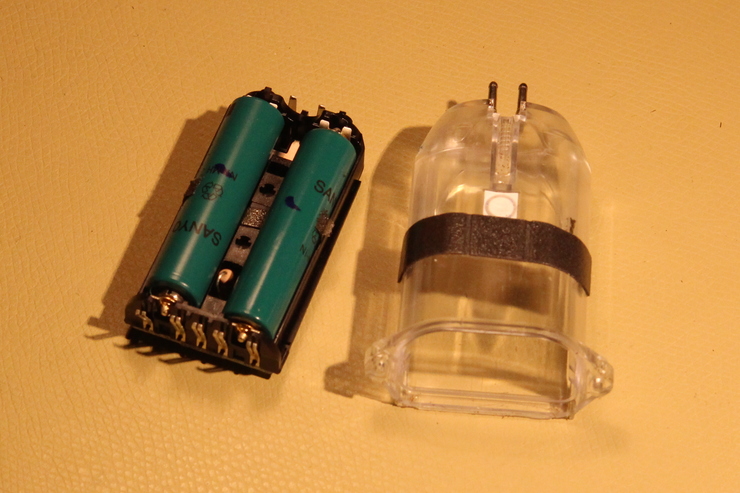
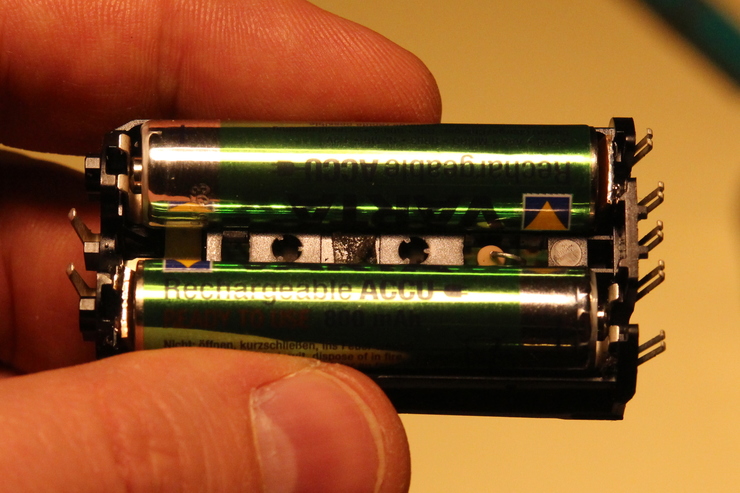
The factory batteries are sitting pretty tight in there (you’ll see why next).
Use a flat screwdriver, or something similar, to get them out.
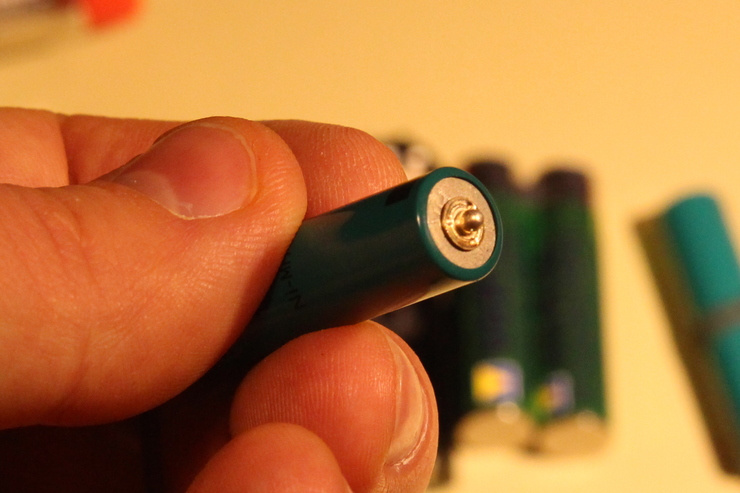
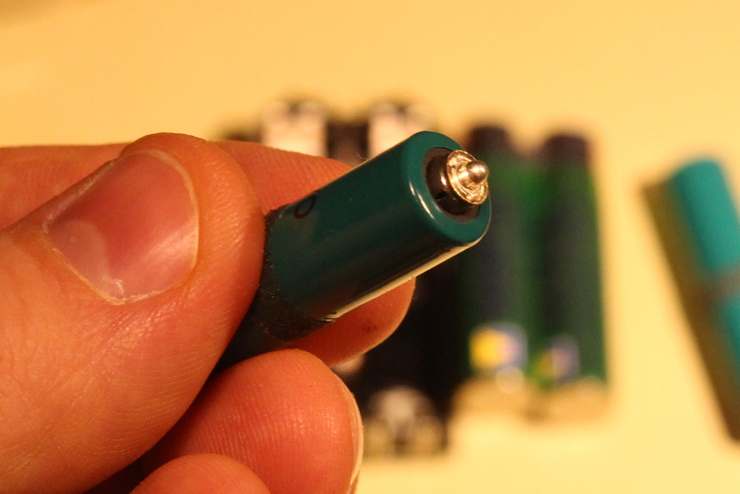
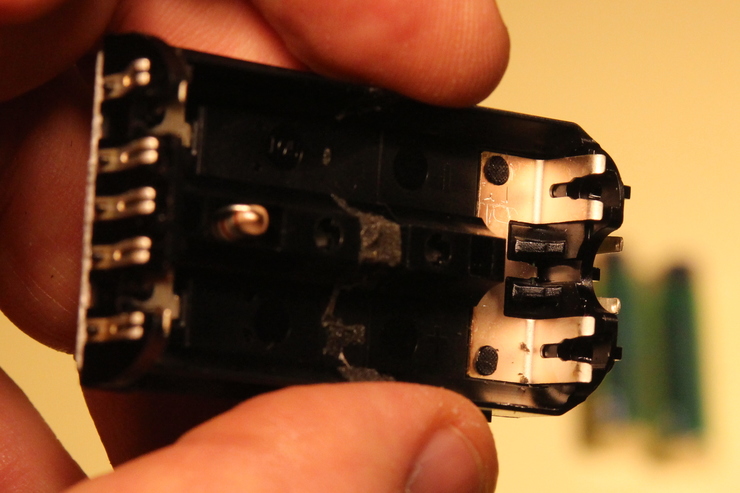
The battery terminals have little round pins welded onto them, which
apparently help hold the batteries firmly against the board’s terminals in the
presence of motor’s vibration.
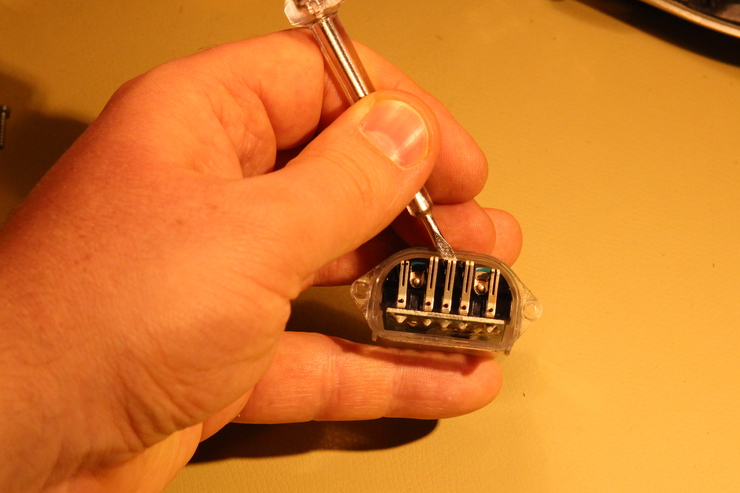
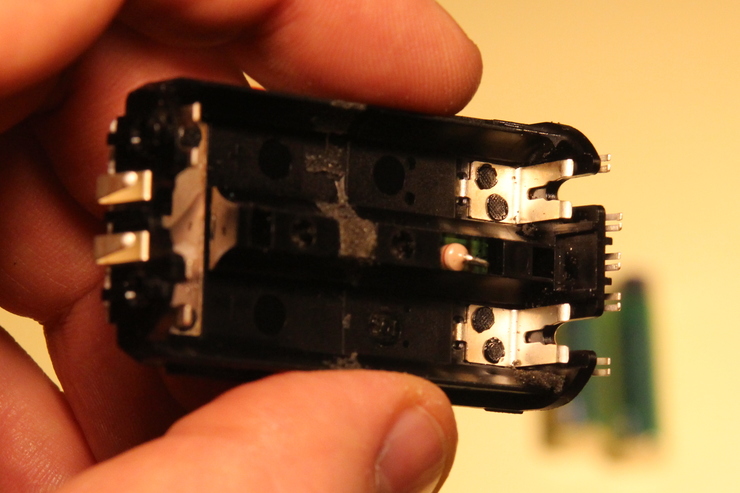
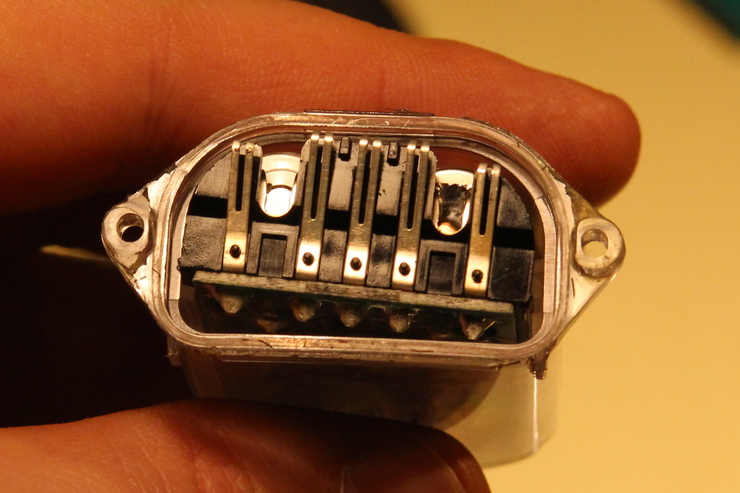
Here are four of the board’s battery terminals. You can see little round
indentations where the pins are supposed to rest.
Since we are not likely to get anything like these batteries with pins easily, we’ll have to do without them. The standard AAA batteries fall out of the holder easily, and are not likely to have good contact as is. So, I had the idea to make them fit tighter by soldering a piece of copper to each of the control board’s negative terminals. Don’t solder anything to the batteries themselves - you can easily ruin them with heat from the soldering iron!
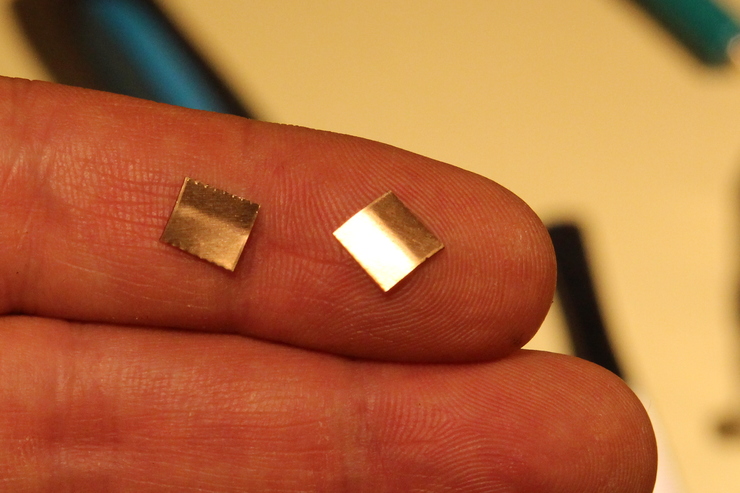
Here’s a piece of a salvaged copper stock I used.

I cut little squares and bent them in the middle slightly in an attempt to get
a more reliable contact.
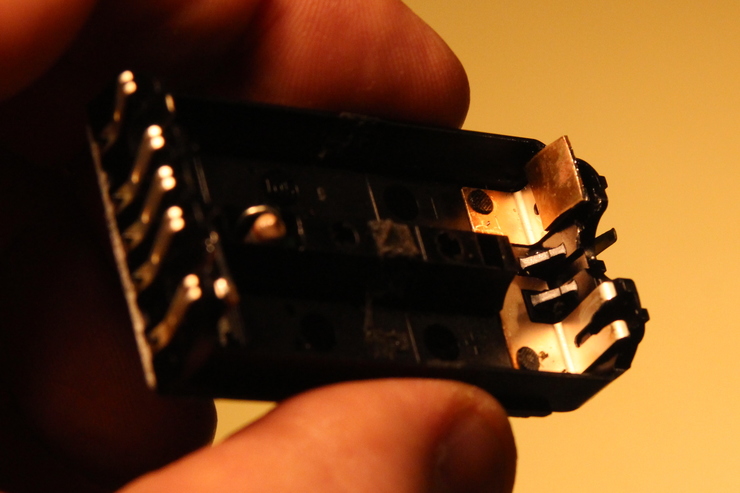
Here they are soldered in.

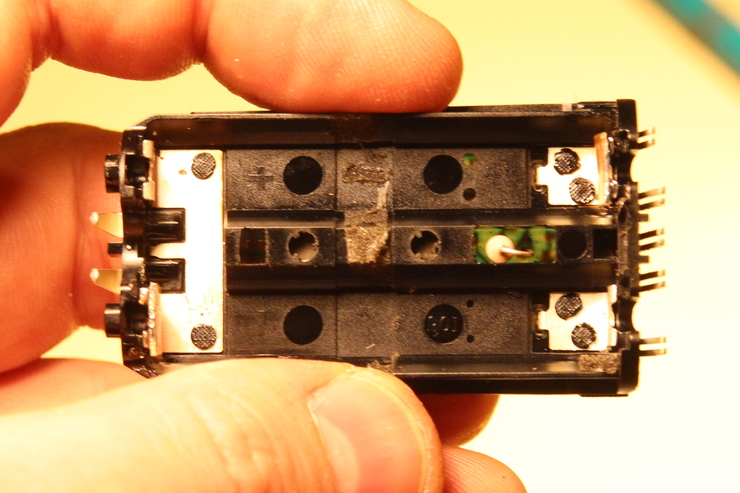
If you look inside the holder, you should be able to see the polarity marks at the bottom. Here the plus is visible, and you can just about see the minus. I chose to solder the copper to the negative terminals, presuming that there will be more area to make contact with and it will be more reliable.
Observe polarity when inserting the batteries!
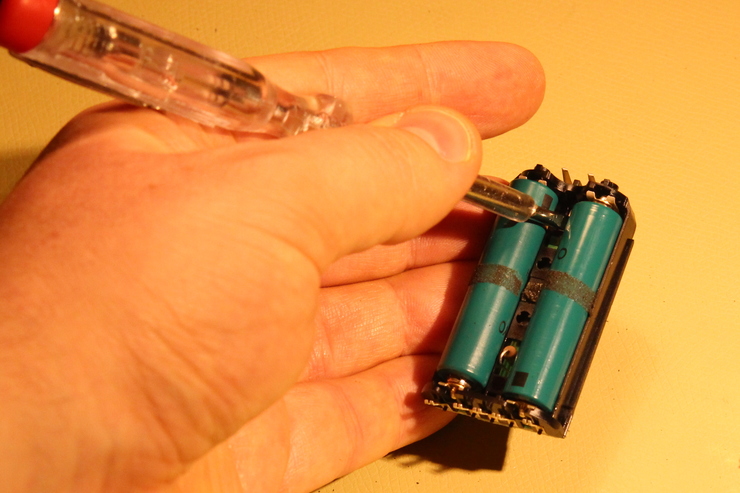
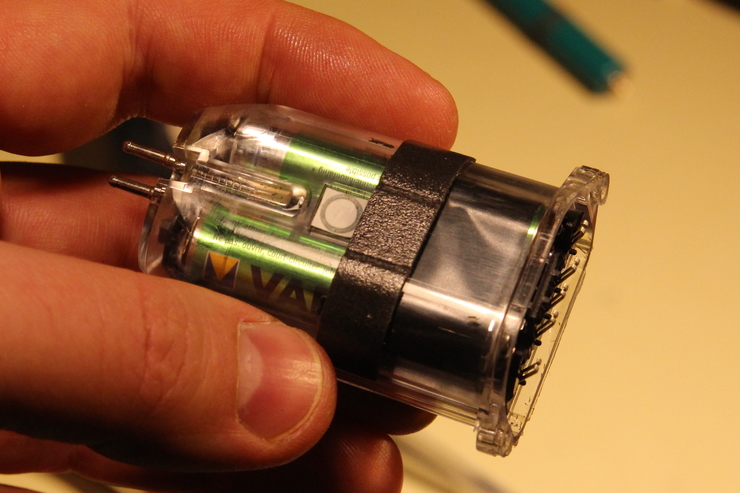
Aaand the new batteries are in.
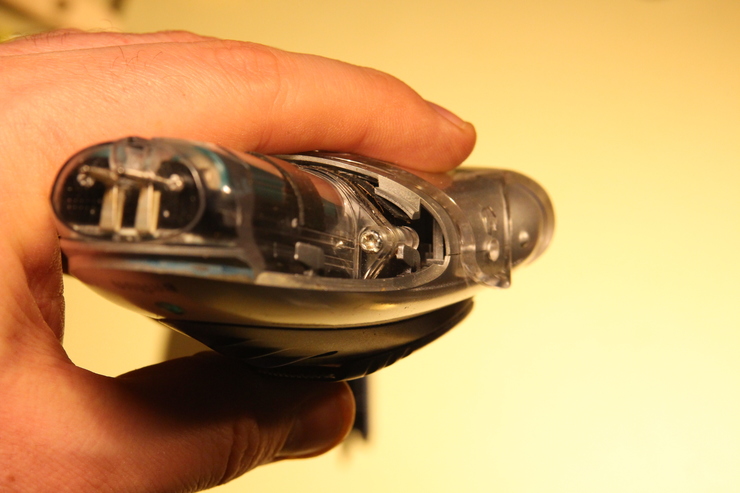
Slide the control board back in. Make sure it goes in straight and easy, don’t
force it. Don’t make the mistake shown on the photo!
I put a piece of electrical tape on top of the batteries (visible through the housing) to give them a tighter fit and prevent them from rattling from motor vibration.
Now the board and the housing are ready to be put back.
The housing is back on.
And the rubbery cover as well.
You probably bought your batteries pre-charged, and by now tried turning the shaver on and it didn’t work. Don’t be alarmed, this is normal. Just plug the powered charger in for a moment, disconnect, and try again. It should work! This is likely to not allow the shaver to be turned on with low charge (no batteries = low charge), so the batteries wouldn’t discharge too much and leak.
After the replacement, I’ve used the shaver for two (now rather long) recharge cycles, and saw no problems.
Good luck with your repair!
Comments
If you'd like, leave your comment at the issue page for this post and it will appear below.